So you’re new to WordPress and need to post a blog. Now what?
Luckily, WordPress is built for instinctual use and doesn’t hide features, as much as possible. This guide will help you figure out how to make a blog and where all of the necessary features are!
Looking to learn more about WordPress?
Go To The Dashboard Of WordPress
Every WordPress dashboard looks like this! WordPress has succeeded in keeping things more instinctual and easier to figure out than some other sites like Showit.
- Posts are for blogs only. Any new article/blog you want to post, that’s where you’ll head to.
- For new service pages or an About/Contact page, you’ll go to “Pages.”
Click “Add New” to start the process!
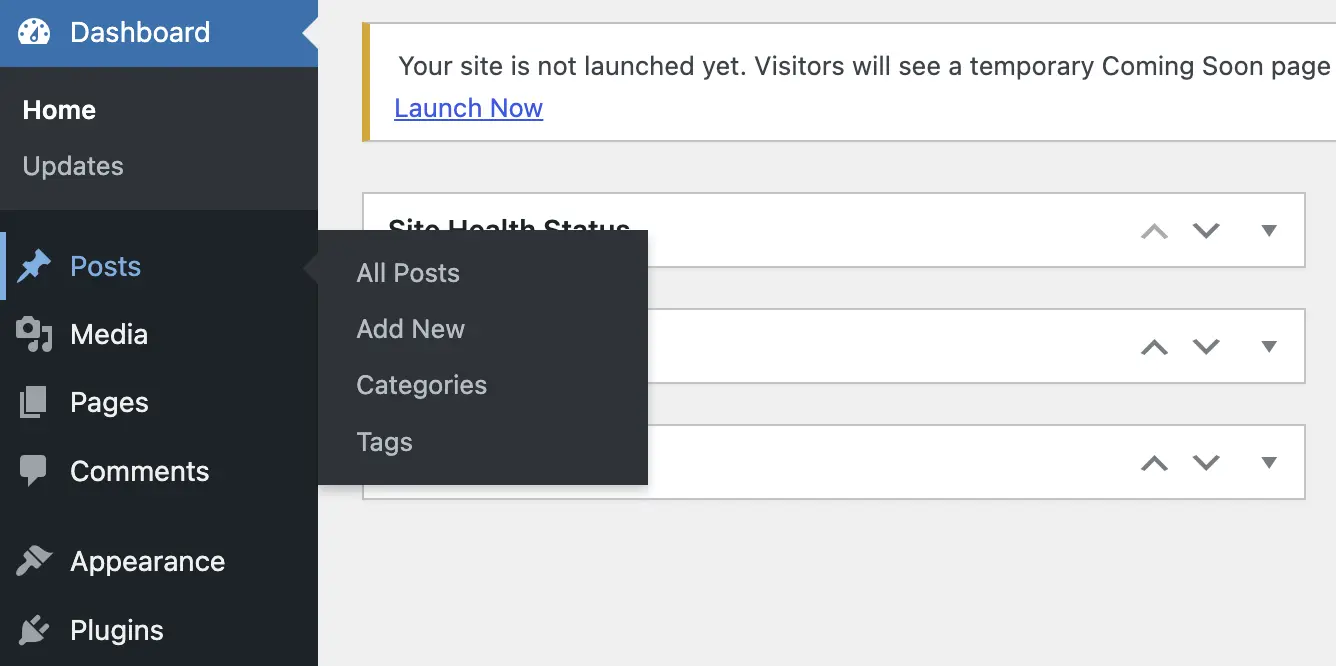
See All Posts Here
Add New Post Here
Manage Categories Here
Manage Tags Here
How To Set Up a WordPress Blog Post
Once you click “Add New,” it’ll bring you to the blog page. Now, I add the Classic Editor plugin because I’m not a fan of the Gutenberg post layout. If you delete the Classic Editor plugin, you’ll be immediately reverted and I’m not sure how that affects the Divi layouts if you ever use that.
1. Add headers to break up the content. Use only one H1, which is your post title. So everything else can be broken up to H2s, H3s, and H4s.
2. Adding media will also break up the content, which is vital for creating an easier-to-digest piece of content.
3. You can set the publication date for in the past, present, and future. Once you hit Publish, though, your URL is cemented, so make sure to check that before you do it!
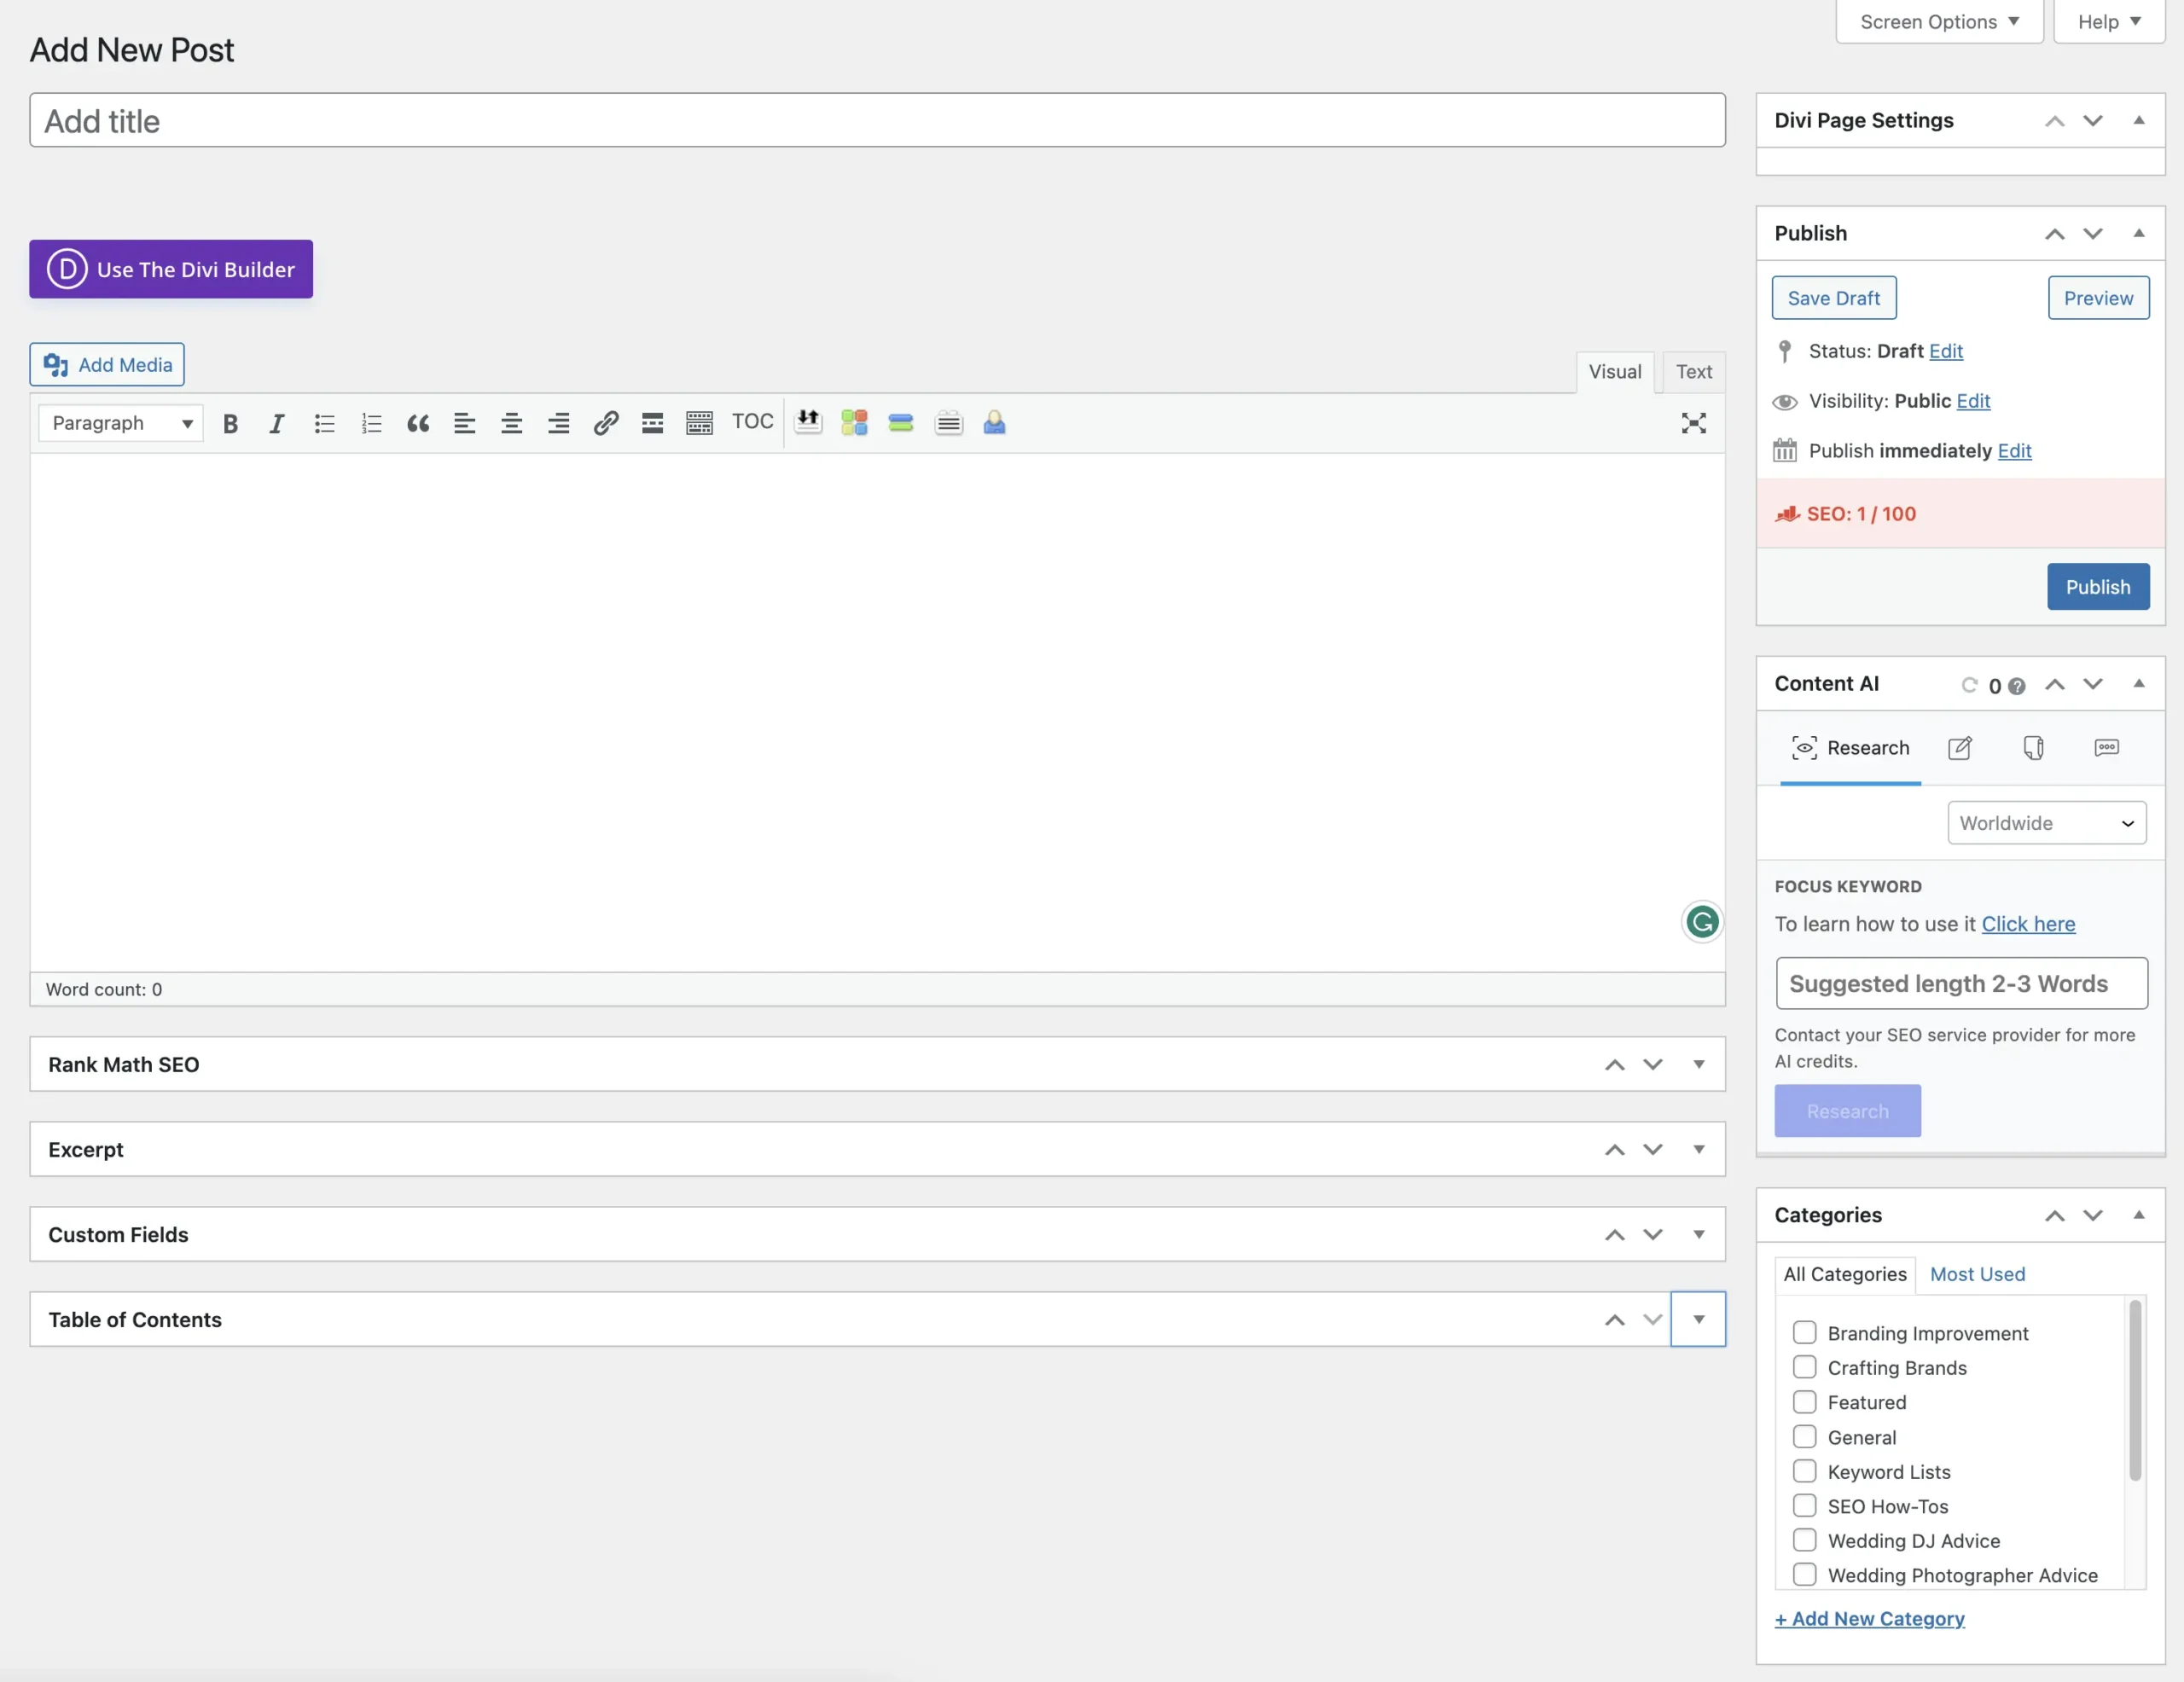
Use this only when familiar with Divi builder
This is the only H1 you'll need
Choose headers here
Add additional article formatting here
Don't hit this until you want to publish
Pick categories here
Where To Adjust Categories and Featured Images
Categories are important to help organize the structure of your site. They’re also vital for current and future search features. Depending on the permalink structure chosen, they’re also important for keeping things clear for users.
Featured images are required for each blog post. They appear at the top, as well as preview images when you post them elsewhere. Try to keep them less than 1000px on the widest side and make sure they’re WebP files.
You can convert jPEGs to WebP at this website.
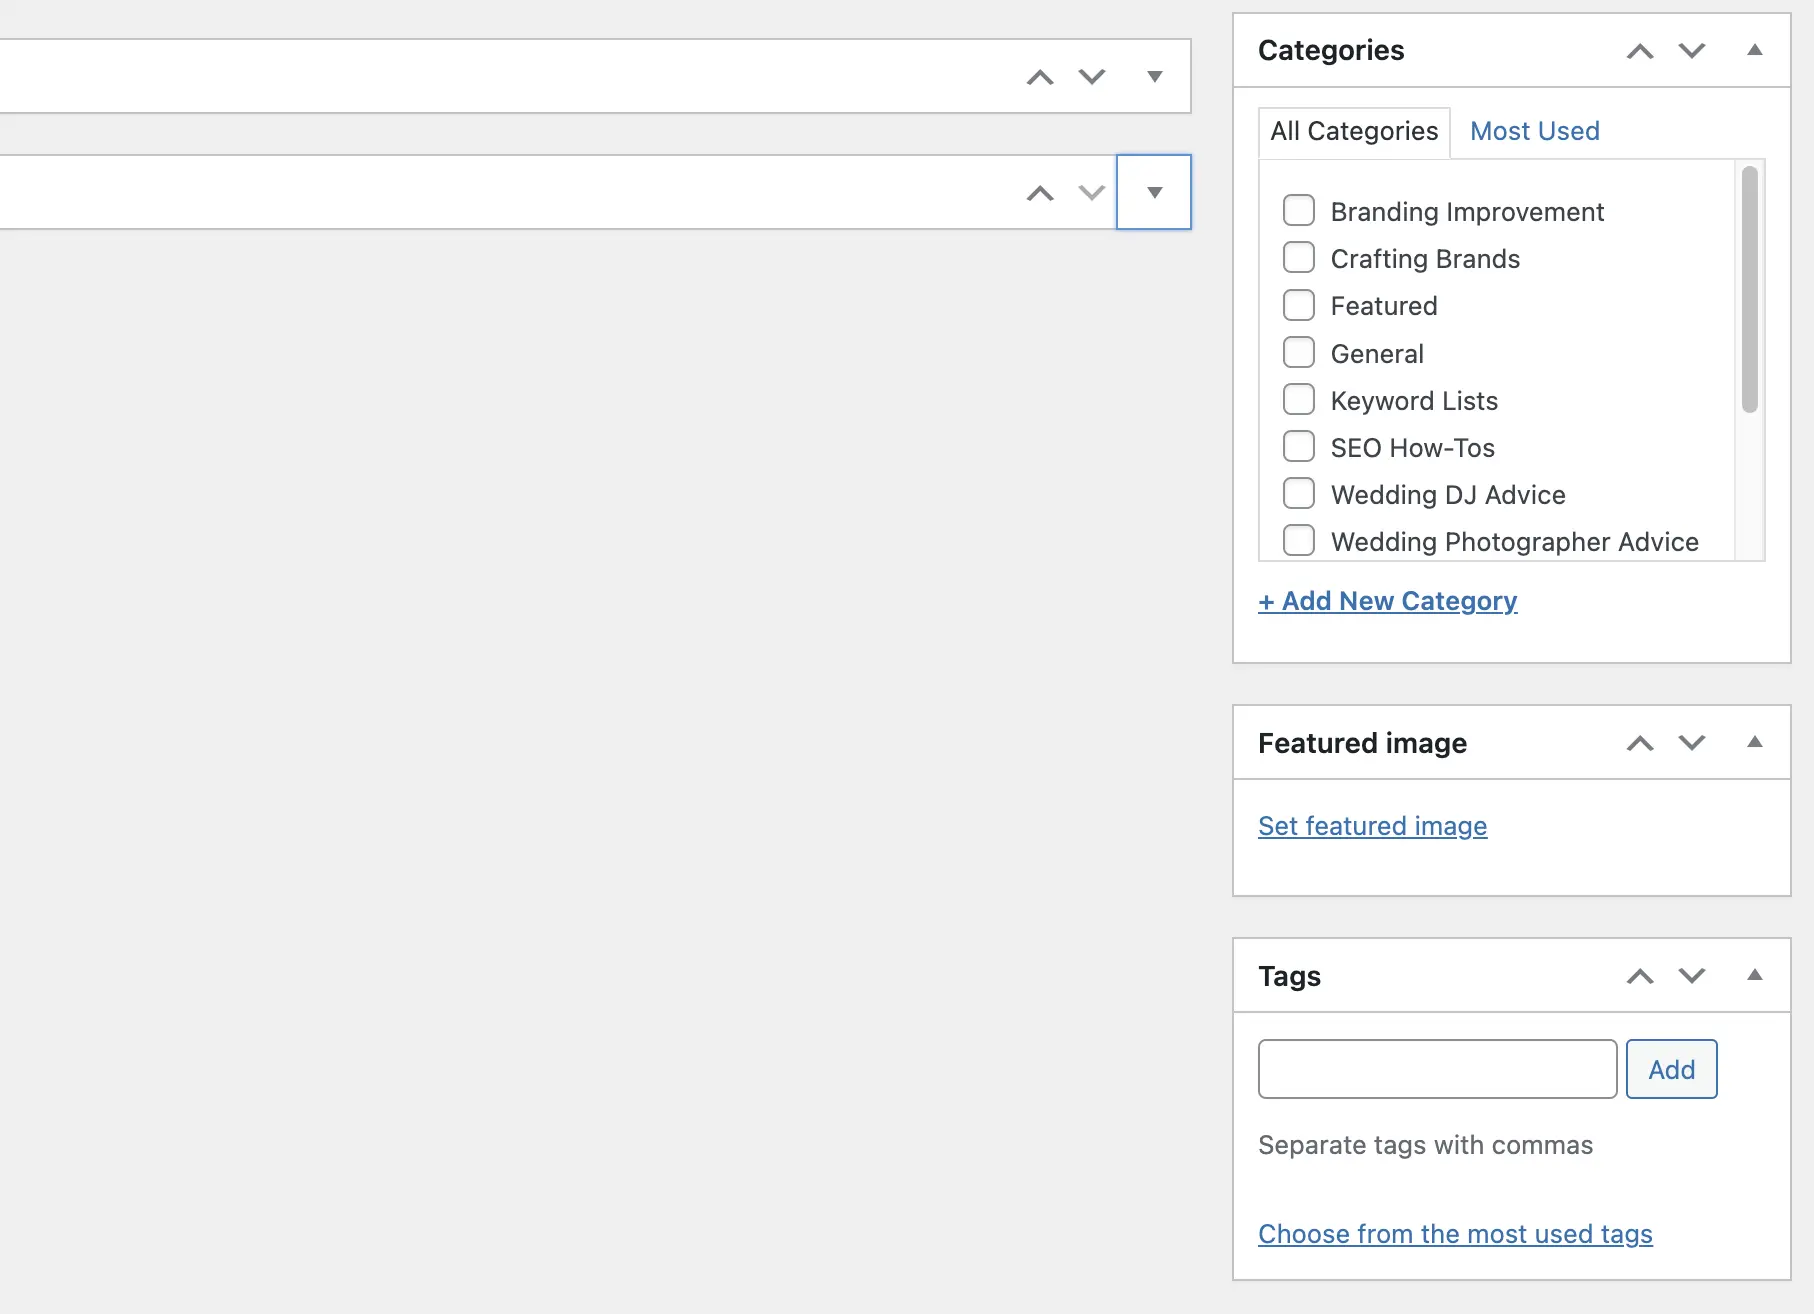
You must put a featured image. It will be the first image in the article, always.
Add tags here
How To Add Images
Now that you’ve converted the images and made sure they’re the right balance between quality and file size.
- Then you click “Add Media,” and it will give you a relatively white, black pop-up. You can either search through your files or drag/drop files.
- Once it’s loaded, you’ll see a screen similar to the first photo. Then, on the right-hand column, are options for your image. You really only need to focus on “Alt Text,” “Title” and down at the. bottom, the file size.
- Learn more about Alt Text to make your images SEO friendly
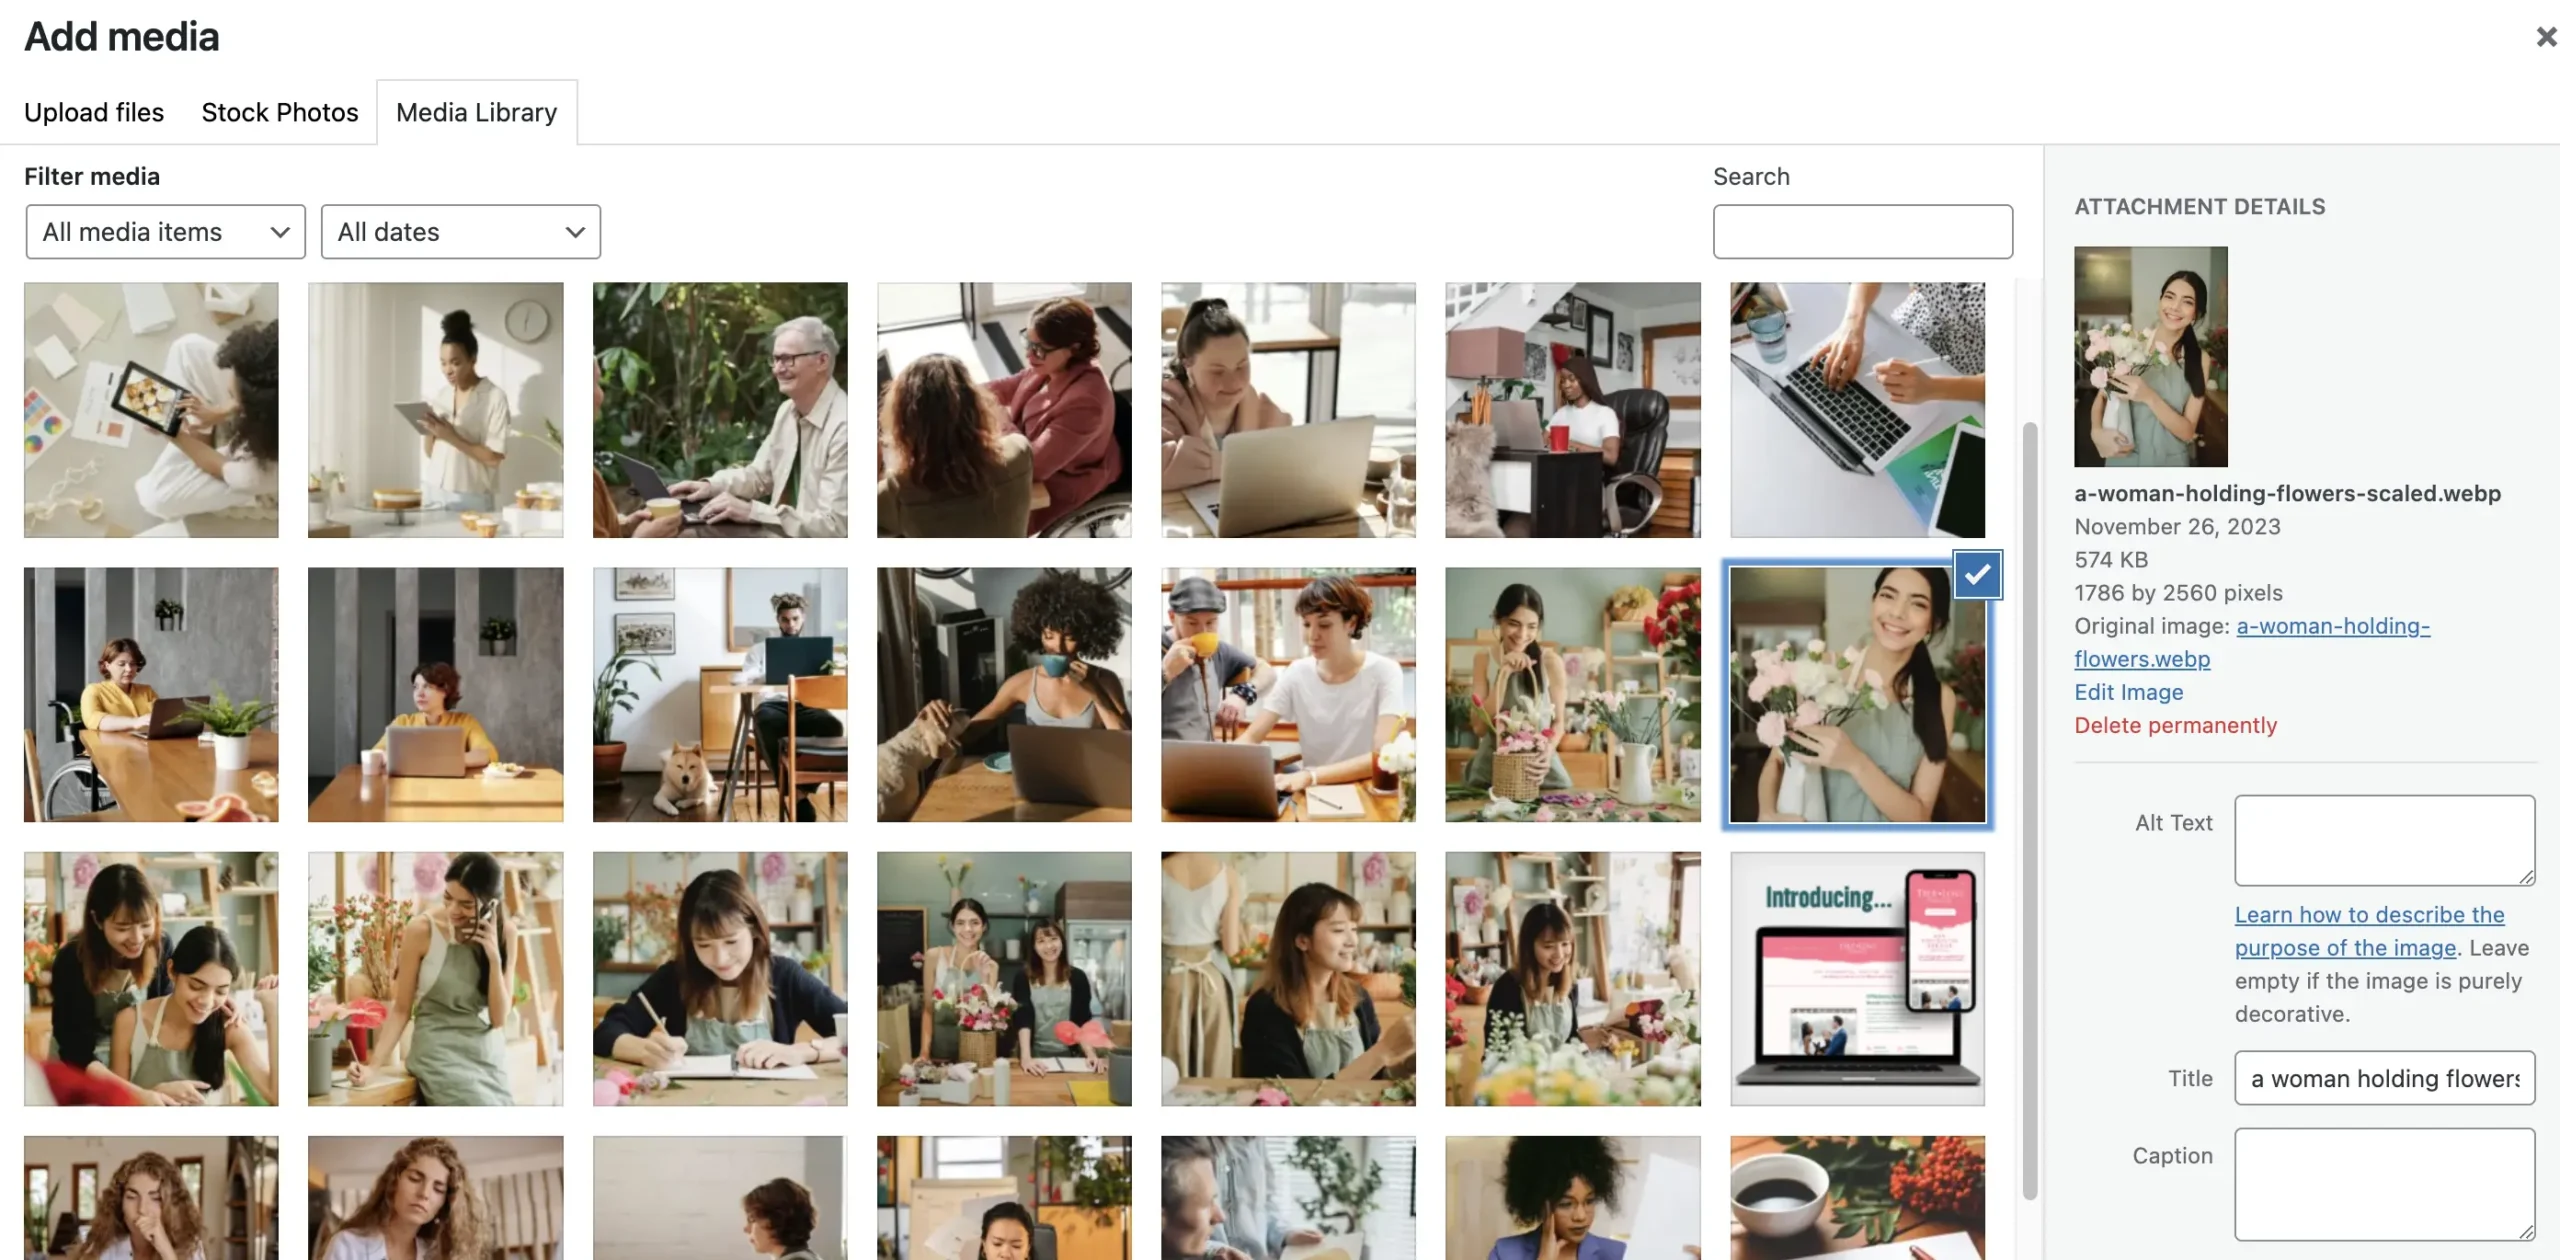
Add Alt Text here for SEO
Add a title here. Wordpress will put the file name here if you don't.
Wrapping Up
WordPress might come off as intimidating at first, but once you get the hang of it, I’m confident you’ll love it. If you’ve worked with me on building a site, you receive one hour of complimentary training to go over this.
Happy building!